How to Create a MetaMask Wallet
Learn how to create your wallet and connect it to the Polygon network
Dealing with cryptocurrencies is not that different from dealing with real-life money, though the whole process may sound a bit daunting at first, especially if you are new to this universe.
The first thing you need to do is to create a crypto wallet, which is a program, software, or system that enables the storage of private and public keys, that will allow you to send, receive and monitor your cryptocurrencies.
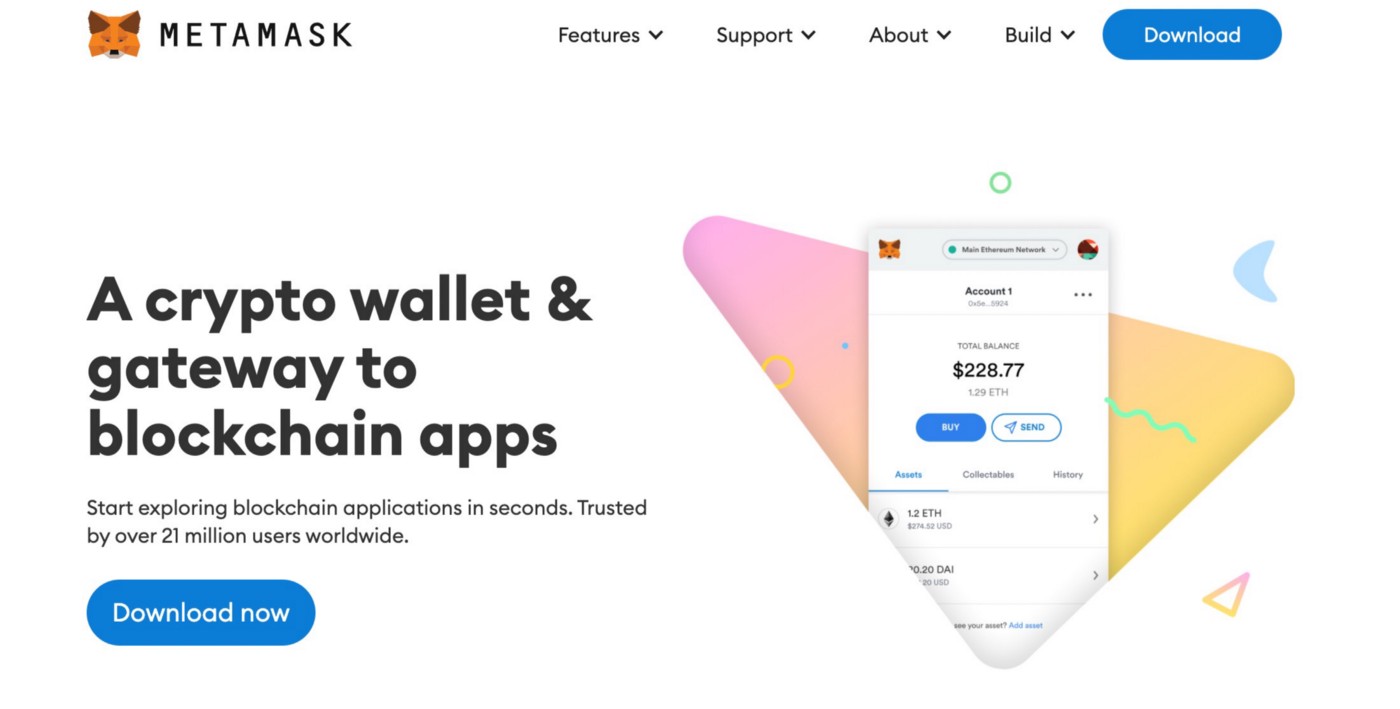
There are different types of crypto wallets, and one of the most popular and secure is MetaMask, trusted by over 21 million users worldwide. This app/ browser extension acts as an intermediary between you and the website you are doing the purchase/sale of a cryptocurrency or token, making the process a lot easy.
How to create a MetaMask account:
1. Go to metamask.io and install the app or browser extension.

2. You’ll need to select your preferred browser (if you’re installing the extension on your computer).
3. Once the MetaMask extension has been added to your browser you can open it and choose “Get Started”. You will be given two options, “Import Wallet” or “Create a Wallet”. As this is the first time you’re creating a wallet you will need to select “Create a Wallet”.

4. Now it’s time to create a password. It’s important that you choose a secure password to protect your information and assets.

5. You’ll be given a secret recovery phrase — make sure you store it in the safest place possible and don’t share it with anyone; you’ll need it to have access to your wallet if your device crashes or your browser resets, and there is no way to recover it. Once your Recovery Phrase is stored safely, you can go to “Next”.

6. Finally, you’ll be asked to confirm your Secret Recovery Phrase, to ensure that you stored it correctly.

Now that you have your wallet all set, you’ll need to connect it to the Polygon Network in order to buy $MSU.
How to connect your MetaMask wallet to the Polygon network:
1. Click on the top right side of the screen where it says “Ethereum Mainnet” and right away click on “Add Network".

2. You’ll need to fill all the fields with the following information:
Network Name: Polygon
New RPC URL: https://polygon-rpc.com
Chain ID: 137
Current Symbol: MATIC
Block Explorer URL: https://polygonscan.com/

When it’s done, click on “Save”, and it's done!
